Artist Lauren Tsipori’s First Solo Exhibition Next Month At Muse Gallery
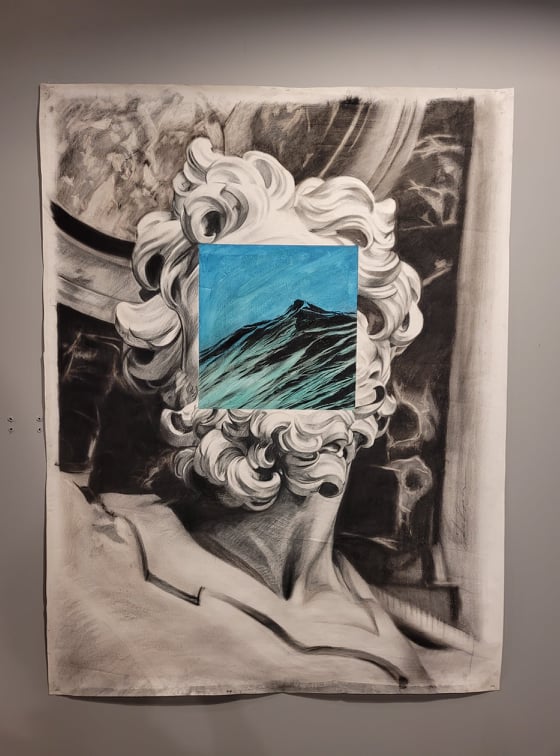
Lauren Tsipori will be showcasing their new work in their first solo exhibition titled “Flightless Bird, Headed East” at Muse Gallery next month. The theme of the exhibition explores the human condition and the possibility of a collective, universal truth, in which they hope to be found in glimpses of their expressionist, vulnerable, large-scale works of art. Through the colorful layers of paint, there lies a painful confusion of age-old, universal questions that can never be answered with words. This exploration is what drives Lauren to create, and this past year, birds seemed to answer their call. “Birds are the only creatures of this planet that get to hover between heaven and earth, in the middle ground that separates us from the unknown. They see the world through a perspective where they can remove themselves from the world, observe it, and come back down when they have found what they’re looking for.” Lauren is looking for something, and only knows that it lies in the East.
Come join Lauren Tsipori in celebrating their first solo exhibition on First Friday, August 1st, from 6 pm- 9 pm at Muse Gallery in Old City, Philadelphia. The exhibition will be on view from June 30- August 31st.
To check out more of Lauren Tsipori’s work, head to laurentsipori.com
Artist Lauren Tsipori’s First Solo Exhibition Next Month At Muse Gallery
Muse Gallery is located at 52 North Second Street, Philadelphia, PA 19106
LikeDoNArTNeWs Art News Blog by DoN Brewer on Facebook
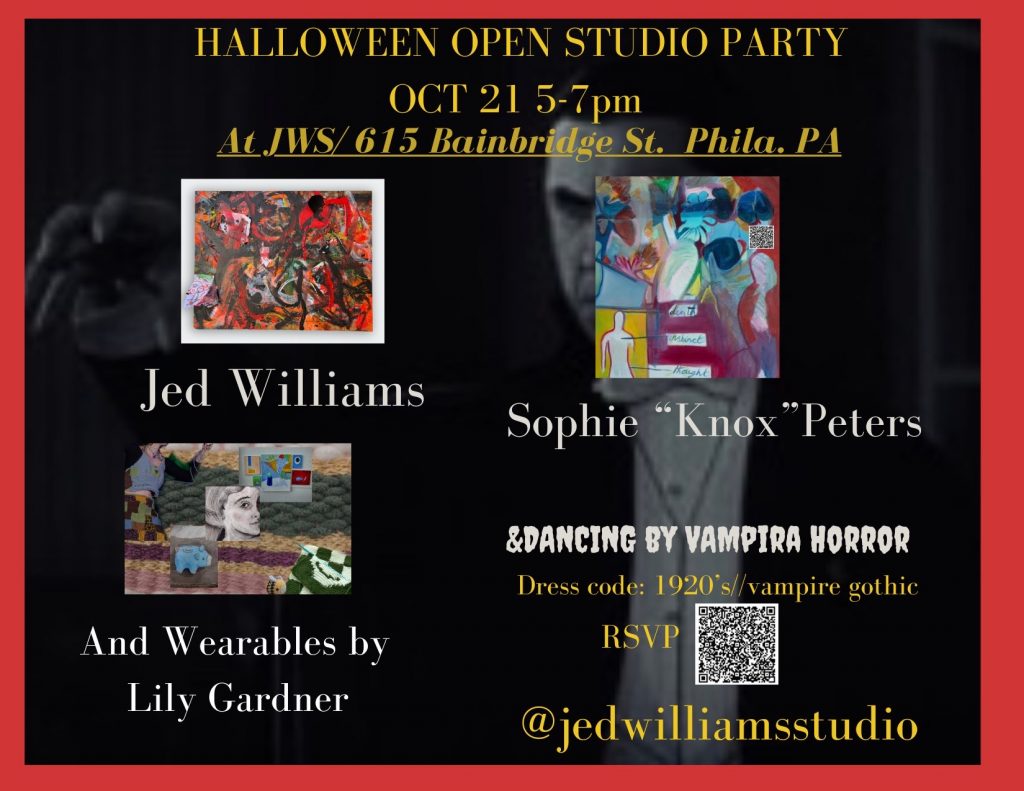
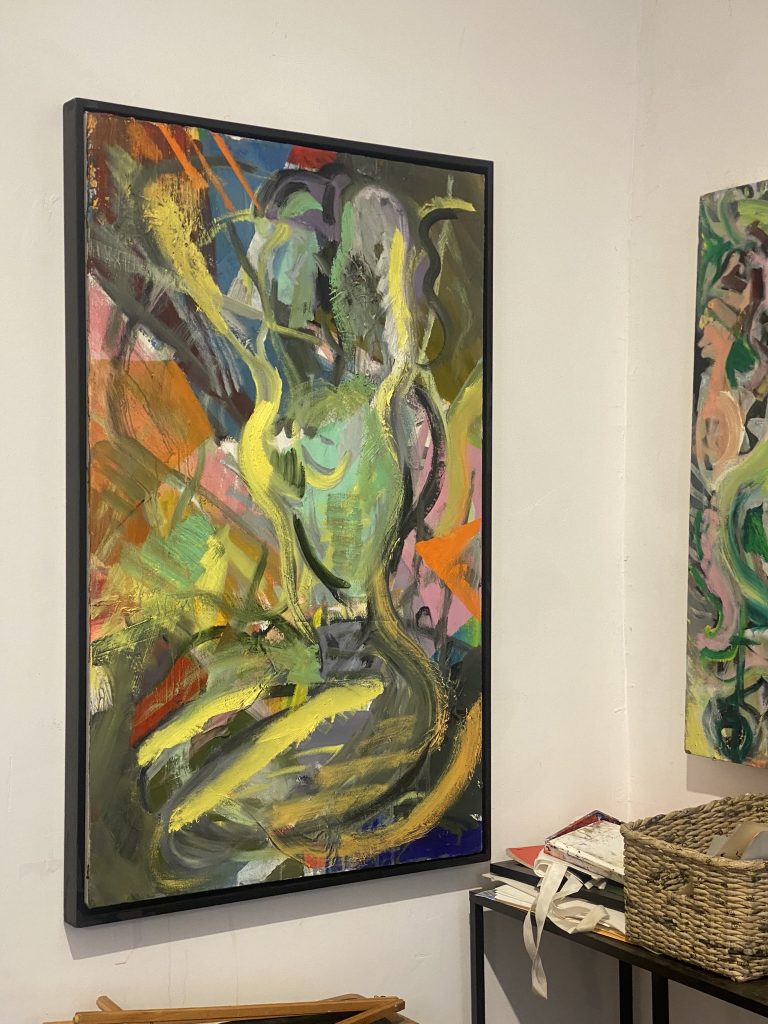
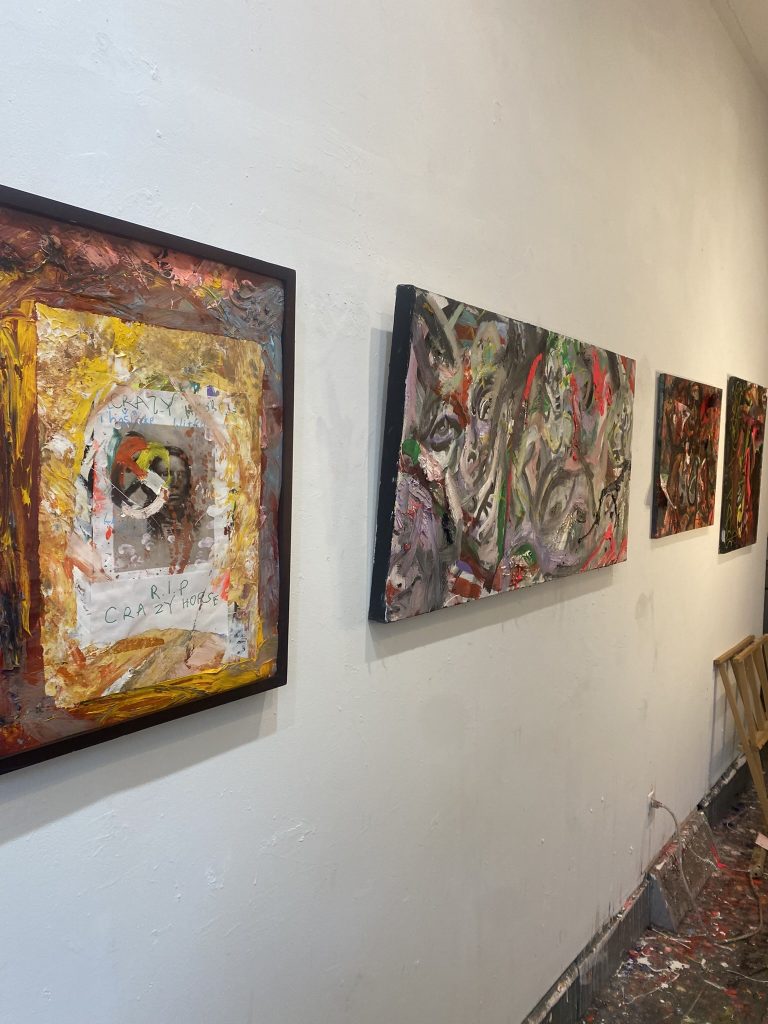
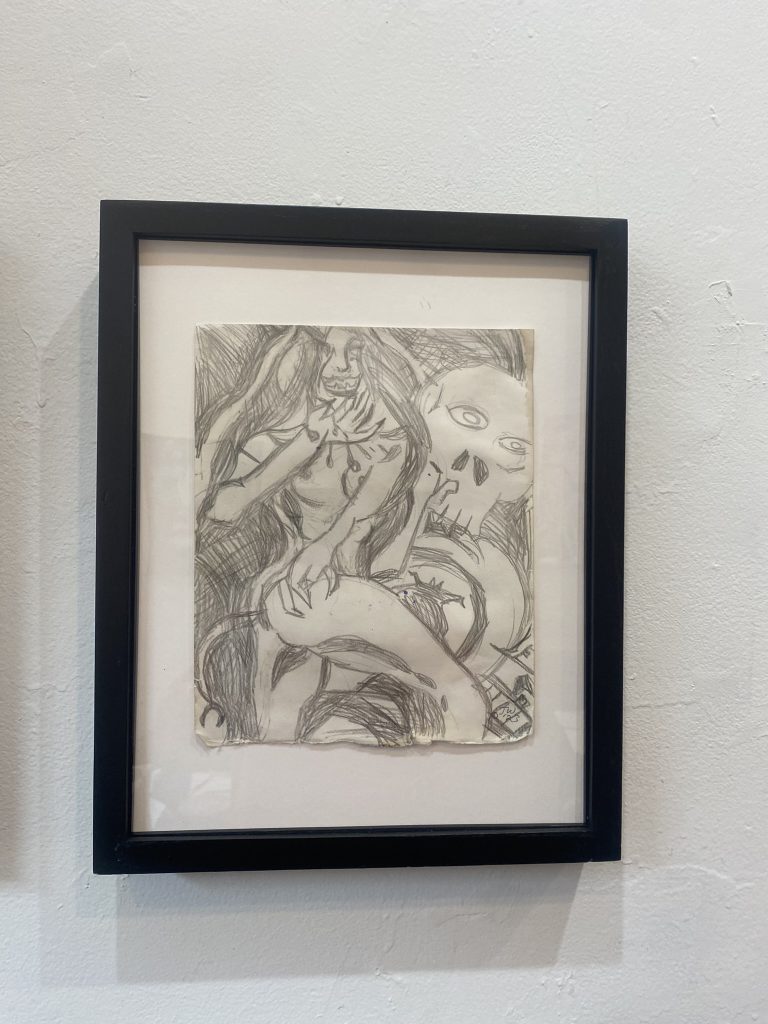
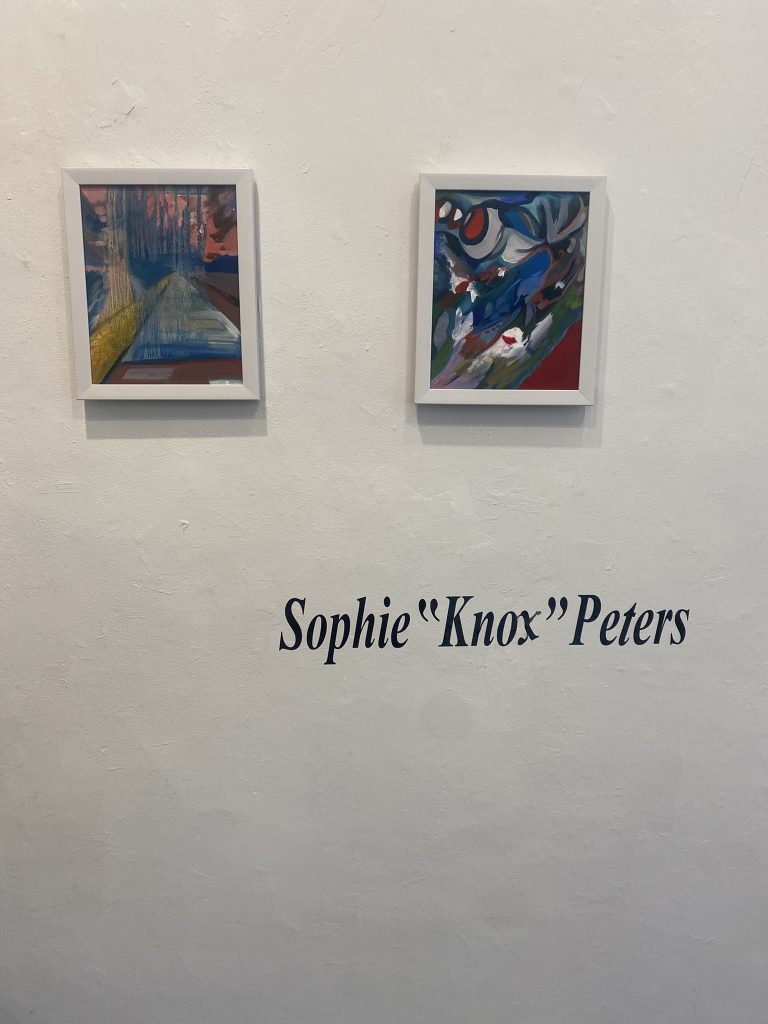
Jed Williams Studio, Halloween Open Studio Party, 615 Bainbridge St, Philadelphia, October 21, 5:00 – 7:00.
“The artist “Knox” Peters will have her work up until Nov. 21st. Visiting hours during this show are Saturdays 5-7pm and by appointment. To make an appointment call 267 570 7520 or DM me on Instagram, Messenger or at jedmwilliams@gmail.com Hope to see you at the show!”
Jed Williams, Sophie “Knox” Peters and Lily Gardner
HALLOWEEN OPEN STUDIO PARTY at Jed Williams StudioJed Williams Studio, Halloween Open Studio Party, 615 Bainbridge St, PhiladelphiaJed Williams Studio, Halloween Open Studio Party, 615 Bainbridge St, PhiladelphiaJed Williams Studio, Halloween Open Studio Party, 615 Bainbridge St, PhiladelphiaJed Williams Studio, Halloween Open Studio Party, 615 Bainbridge St, PhiladelphiaJed Williams Studio, Halloween Open Studio Party, 615 Bainbridge St, Philadelphia
LikeDoNArTNeWs Art News Blog by DoN Brewer on Facebook
Still Life Crew: “Gardening Above”A collaborative exhibition between January 27, 2023 – February 19, 2023. Opening ReceptionFriday, January 27 • 5:30 PM-8:00 PM RSVP here* Appreciated but not required
To kick off 2023 at Paradigm, Still Life Crew returns with their second exhibition as a duo at Paradigm. The artists behind the joint “Gardening Above” collection, Mando Marie and Hyland Mather, are bringing their collaborative work to a new level in this exhibition through a seamless creative process. The two have discovered new methods of formation through layering processes that have the feeling of tagging in a teammate in a competition or marathon, so in sync, but with each artist’s contributions and special skills holding their own through the details of the individual pieces. Rather than the previous side by side solo work collection previously shown on the gallery’s walls, each artist poured their hearts and vision onto the same surface for this exciting next step in the Still Life Crew’s growing and impactful oeuvre.
Mando Marie primarily uses stencil and mixed-media collage to create paintings that tether the viewer to a feeling of haunting nostalgia. Straddling a line between comforting and spooky, innocence and adulthood, life and spirit, her works find a real power in opposites and duality, evidenced in this series with several examples of her hallmark use of twin and mirrored imagery.
Hyland Mather’s abstract and often geometric painting style, along with his assemblage working technique are both featured in this series. As is his way, the assemblage work features abandoned, discarded, or ‘lost objects’ that have been rediscovered and made new again while maintaining an artifact-like status. In Hyland’s own words, “some lost stuff gets found again”.
About Mando Marie | An American painter and Stencilist, Amanda Marie has been splitting time, living and painting in Amsterdam and Portugal . She attended the Rocky Mountain College of Art and Design (RMCAD) and has exhibited extensively in the US and Europe. She creates small works on paper and larger works on canvas for indoor exhibition. She also paints large scale murals primarily in outdoor urban, or garden settings. Her use of nostalgic storybook-like imagery is an invitation for viewing allegorical and highly painterly compositions . Signature in her very graphic work is the use of children and young adults as imagery tools to deliver clever, often subtle messages that can straddle a line between comforting and spooky. Other signature and recognizable traits in her work are the common use of ‘twin imagery’ and the consistent use of vintage sewing patterns as backgrounds to inform the compositions of her paintings.
About Hyland Mather | “I make stuff from junk. I pick up messes and try to make them into something I think looks good. i use the junk from the city, I use the stuff from the field, i use the bits in the forest, and the things in the trash. I hunt, collect, and gather, but only what I need for the work, for the play. color, shape, composition. Some lost stuff gets found again.” Hyland Mather is an American assemblage artist and abstract painter, who grew up in Alaska and lives and works now, like Mando, between Amsterdam and Portugal. Best known for his use of found materials, Mather collects discarded objects and reassembles them to help them regain purpose. Mather has exhibited his work in solo and group exhibitions in galleries and public spaces around the world. Accompanying his studio practice, Mather creates murals and urban art installations in various cities primarily in the United States & Europe.
EXHIBITION HOURS Saturdays • 11:00am – 6:00pm Sundays • 11:00am – 5:00pm And 7 days a week by appointment.
Media Contact: Lainya Magaña, A&O PR 347 395 4155 lainya@aopublic.com
SOCIAL MEDIA Instagram: @ParadigmGS Twitter: @ParadigmGS Facebook: facebook.com/paradigmgallery TikTok: @paradigmgallery
About Paradigm Gallery Paradigm Gallery + Studio was established in 2010 by co-founders and curators, Jason Chen and Sara McCorriston. The gallery exhibits meaningful, process-intense contemporary artwork from around the world. Paradigm Gallery is globally recognized and known as a tastemaker within their greater Philadelphia arts community. As the gallery grows, it maintains its original mission to keep art accessible. Through monthly donations, free public art installations, and initiatives like Insider Picks, Paradigm Gallery, continues to be a champion of small businesses and emerging and mid-career artists.
Thank you to Paradigm Gallery for the content of this post.
LikeDoNArTNeWs Art News Blog by DoN Brewer on facebook
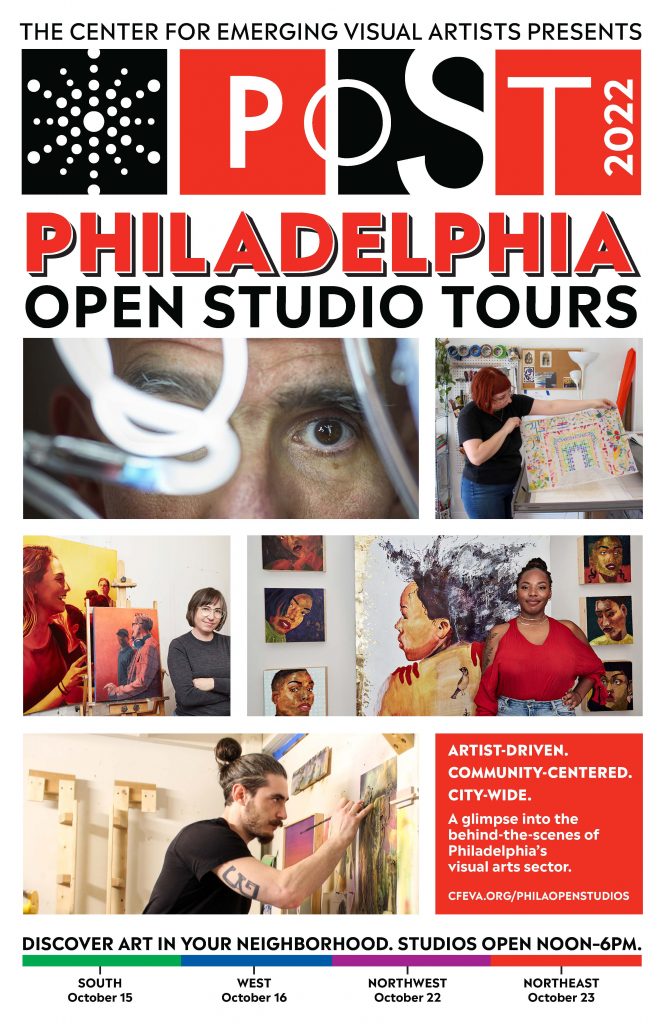
Philadelphia Open Studio Tours (POST) returns this October 2022 with over 250 participating artists and partners.
What: PHILADELPHIA, PA – October 6, 2022. NEW. Philadelphia’s best behind-the-scenes, creative space showcase, Philadelphia Open Studio Tours (POST) is back in-person over two weekends, October 15th/16th, and 22nd/23rd.
Traversing the city’s four quadrants — by SEPTA, bike, car, or on foot — Philadelphians and visitors alike can take part in an extraordinary self-guided discovery of local art practice. Philadelphia Open Studio Tours is the largest studio visit experience in the region, featuring over 250 artists in situ and community spaces who will open their doors to visitors for one of the four days. Participating businesses and creative spaces enhance the energy already taking place in the more than 30 neighborhoods where art studios are located. Related POST activities include: studio visits, hands-on demonstrations, artist talks, preview events, featured exhibitions and more.
Who should attend: All are welcome to participate in the Philadelphia Open Studio Tours! Families, students, community groups, visitors of all ages are encouraged to attend.
Why: POST is not just an intimate window of a day in the life of an artist, or a gallery hop. Instead, it highlights the enormous artistic capital of talent that is Philadelphia in an approachable, accessible way for all to enjoy. No other open studio event in the area provides such a rich and diverse cultural experience for the public. For more detailed, up-to-date information, to view the digital directory and interactive map of participating artists, as well as in-person event updates in October, please visit the NEW POST event website at www.cfeva.org/philaopenstudios.
When and Where: Philadelphia Open Studio Tours occurs, city-wide over two weekends, with ancillary activities scheduled for the weekdays in between. Studios and creative spaces are open to the public from noon-6pm all four days: POST South quadrant – Saturday, October 15th; POST West quadrant – Sunday, October 16th; POST Northwest quadrant – Saturday, October 22nd; POST Northeast Quadrant – Sunday, October 23rd.
For the interactive map and artist directory listings, please click here. Media Contact: Lily Gilston, Community Program Manager at The Center for Emerging Visual Artists (CFEVA) www.cfeva.org/philaopenstudios | 215.546.7775 x 13| Post@cfeva.org | lily@cfeva.org | #POST2022 #POSTPHL @PhilaCFEVA on Instagram, @CFEVA @Philaopenstudios on Facebook
LikeDoNArTNeWs Art News Blog by DoN Brewer on facebook
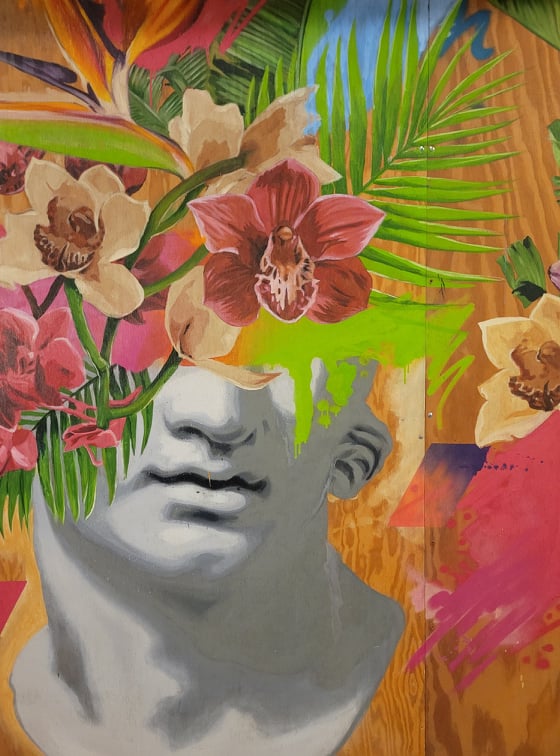
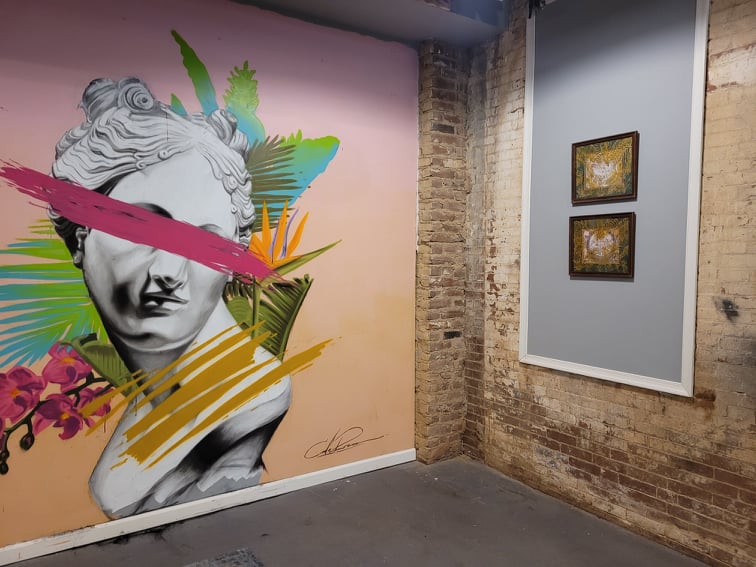
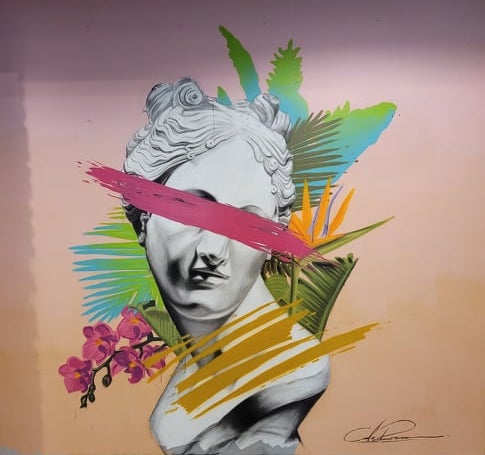
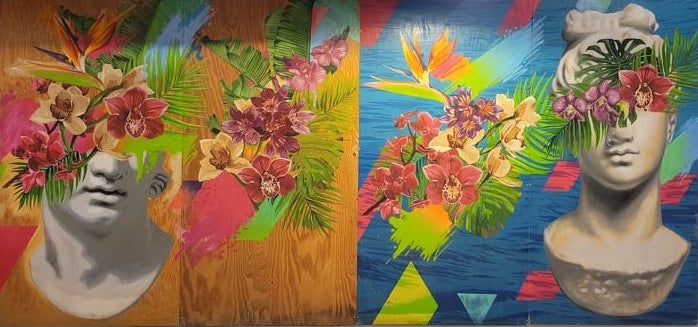
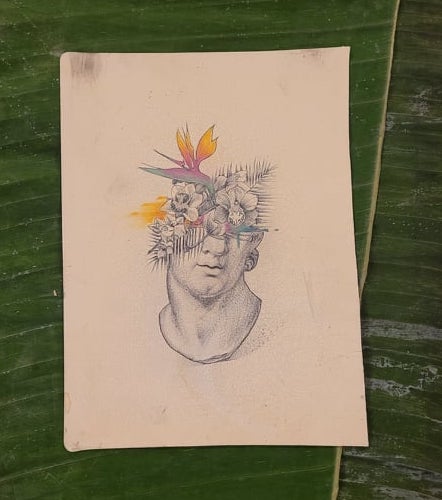
Calo Rosa – Fiorenza at Philiput at SOSNA, Philadelphia
Liliput is a house that is restructured to become an experimental art gallery, residence and artistic workshop; a multidisciplinary space that opens its doors in Puebla, Mexico. Liliput has exhibited international experimental contemporary art for 6 years now.
Philiput is an extension of Mexico’s Liliput though in Philadelphia, Philiput is a nomad art space currently housed at SOSNA at 1901 Washington Ave.
Soon Calo Rosa will exhibit as well at Liliput in Mexico. His exhibition at Philiput at SOSNA in Philadelphia, as well as his upcoming exhibition at Liliput Xperimental Gallery in Mexico are both curated by Rebeca Martell and Devin Cohen.