Mostcraft is reader-supported. When you buy via the links on our site, we may earn an affiliate commission at no cost to you.
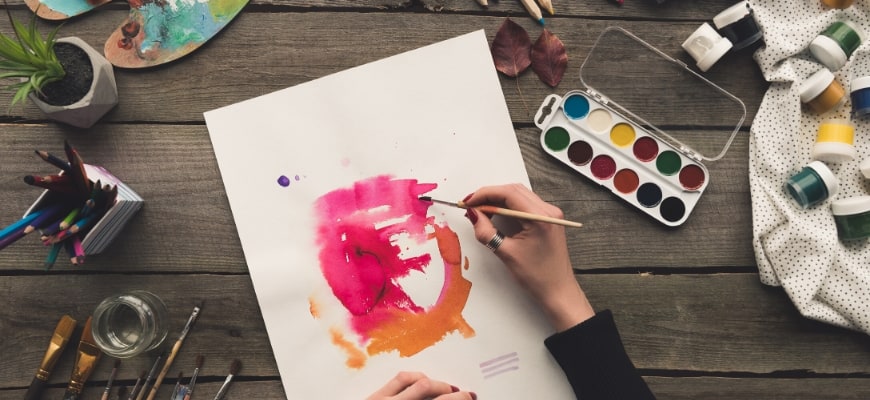
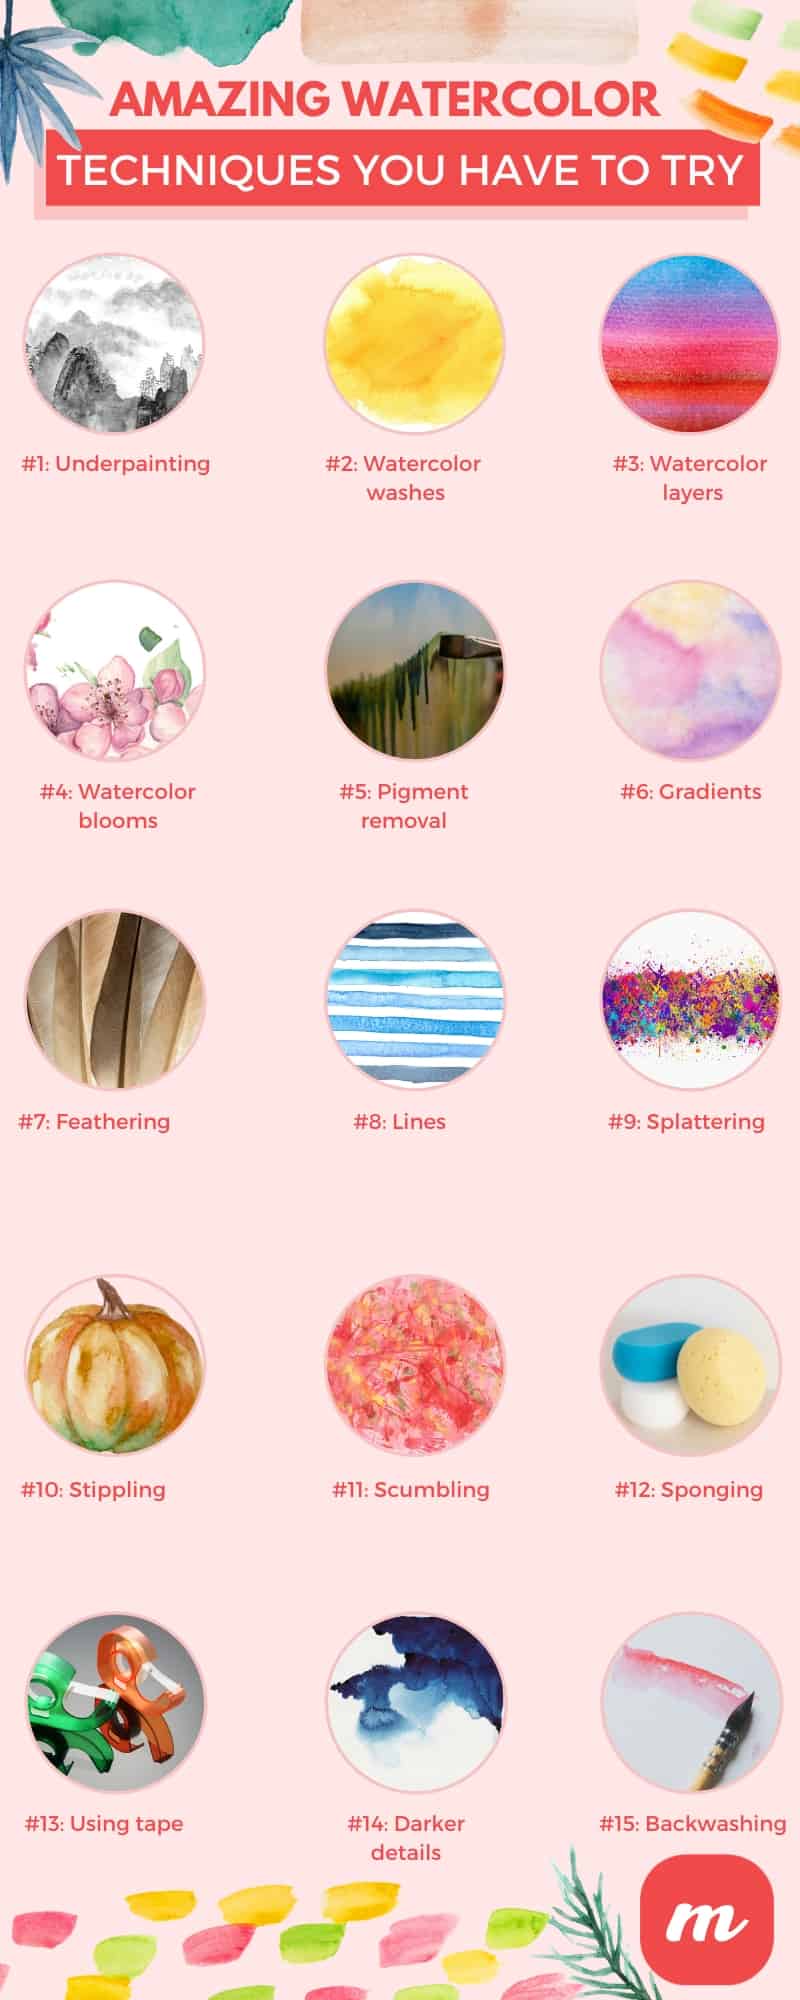
Amazing Watercolor Techniques You Have to Try
Watercoloring isn’t just a thing for the artists: it is straight-up therapeutic regardless of whether you have any talent or not (by the way, did you know that talent can be learned?). But if you’re serious about learning a thing or two about watercoloring, even if it’s just for creating better projects for your own personal satisfaction, here are some watercolor techniques you have to try.
Underpainting
This technique basically describes a monochrome wash that allows you to create the painting’s first layer. Then, you will add more layers of transparent washes over this initial one, creating luminous effects that seem very real.
You can use shades of green, blue, or purple to help you get started. Paint within the outline of your subject, making sure that you use light brush strokes and take into account shade and light as well. The entire technique is based on using a single color, which allows you to focus on the shape a little bit more.
Make sure that you use a soft brush for this technique. When you’re done underpainting and want to move on to creating the next layer, make sure you leave it to dry first. This will prevent muddy colors.
Watercolor washes
There are basically two types of watercolor washes, dry and wet:
- If you want to create a dry wash, you will have to use a round or a flat brush and an angled surface (if you have an easel, absolutely use it for this technique). Choose a color that you like and mix it with plenty of water. Soak your brush in the color as much as you can, then use it to draw a steady horizontal line on the top side of your canvas/paper. There will be water dripping to the bottom edge of your line, so you’ll have to quickly dip your brush in color again and use it to make another stoke below the first one. You want to make sure that the top edge of the second line and the bottom edge of the first line overlap. You want to repeat the process until you’ve reached the bottom side of your paper. When you finish your final stroke, blot the brush on a piece of paper towel. With the dry tip, absorb any excess water that might have dripped to the bottom edge of your last stroke. Leave the paper to dry before removing it from the easel.
- Wet washes are a bit more interesting to make. While very similar to dry wash, in this particular case you will have to moisten the paper before creating the strokes. To do that, dip a clean brush in water and brush the entire surface of the paper/canvas. When you’re done, simply create the lines of color, just like you did for the previously-shown technique.
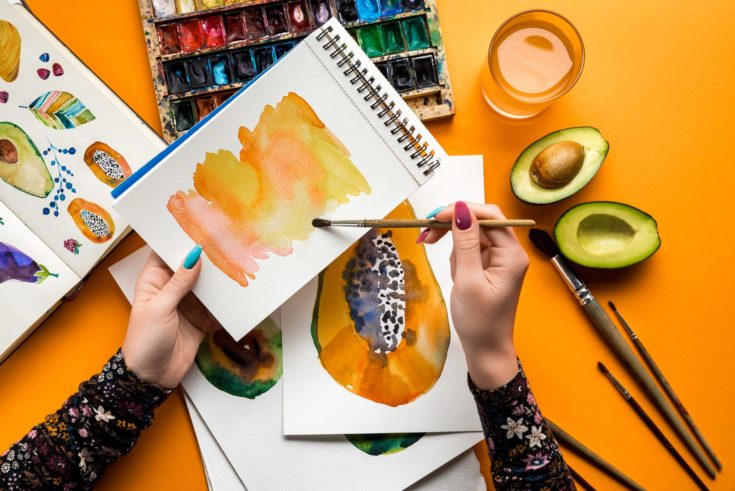
Watercolor layers
Let’s assume that you’ve painted a basic item, like a fruit. You will have to leave the paint to dry, and then you can add layers that will add dimension to your painting, but also color variations. Leaving the painting to dry before adding layers will prevent colors from blending together.
Simple paint the second color on top of the first one, but make sure that you avoid using too much water, or else the base layer will get moist and the colors will blend. If you want your second layer to have less severe lines, simply dip the brush in water and use gentle stroke to feather the line.
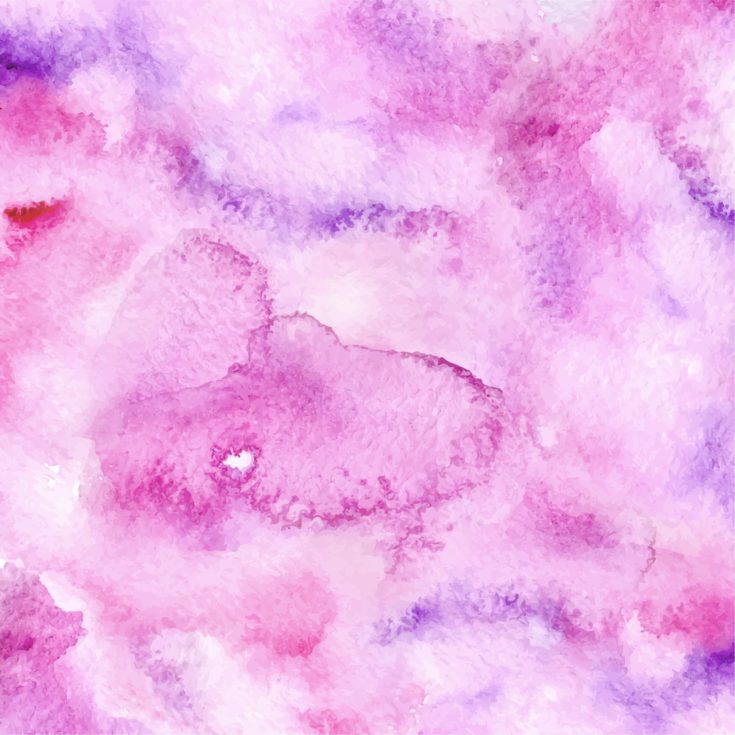
Watercolor blooms
You might have experienced these wet paint spreads that look like really abstract flowers. Those are called watercolor blooms, and they’re actually a pretty cool technique that you might want to know about, for future references and projects. What actually happens is that the original pigment spreads out when you use wet paint on a damp wash.

If you want to know how to make these, it’s pretty simple. Create a colorful wet wash and leave it dry for a few minutes. Grab your brush and soak it in water. Touch the paper with the tip of the brush, allowing the liquid to create the blooms.
Pigment removal
Yes, it is actually possible to remove pigment from the painting, which can help correct a mistake or help you add more white space to your painting. The technique you have to apply depends on the state of the watercolor:
- If you want to remove wet watercolors, you will have to blot your brush and use it to lift color from the paper. What happens is that the damp brush will absorb a lot of water, so make sure that you remove it quickly to make sure it picks up the color from the painting. Some prefer to use a paper towel to remove the color, but that won’t render the best results in all cases (works best when you want less controlled white space).
- Dry watercolor is a bit more complicated to remove because you’ll actually have to use an eraser to do it. First off, water the area and then use a dry brush or a piece of paper towel to lift the color. Then you should be able to finish the job with an eraser.
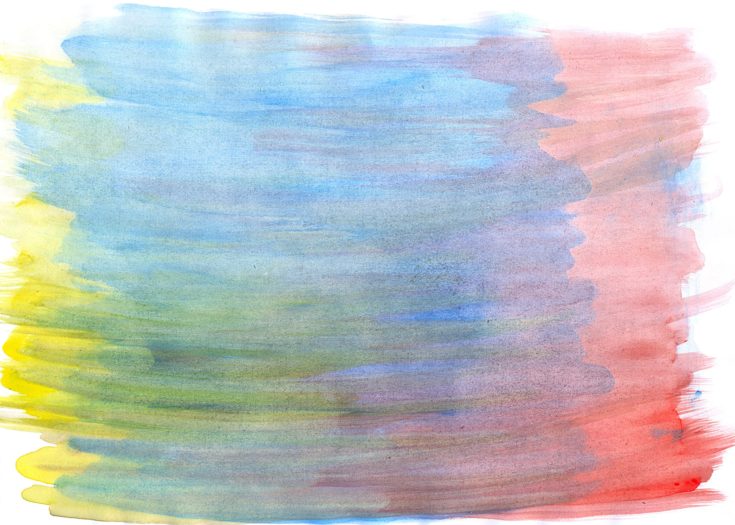
Gradients
Gradients will always be the kings of colored PowerPoint presentation backgrounds, so why not learn how to paint them as well? Needless to say, color blending and gradients add a stunning visual effect to your paintings.
To master this technique, you will have to add watercolor to a wet paint surface. Right next to it, you can add a different color or perhaps a more intense version of the hue. Since the paints are both wet, they will likely blend in together to create the gradient. The wetness of the paint will determine the gradient result.
Feathering
Gradient works differently when you’re starting off with an intense color and want to end up with a more transparent one. Adding more color won’t do it. Instead, you’ll have to add water. This technique is called feathering, and it goes like this: you will have to start by adding strong color to your painting. Then, by using a wet brush, diffuse that color in order to create the gradients effect.
Lines
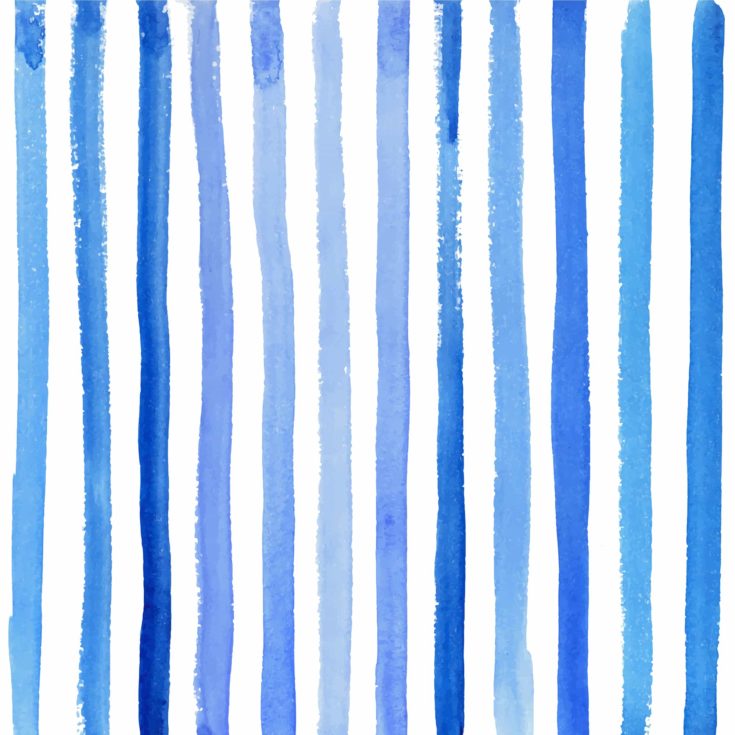
Lines are an important part of every painting, but that really depends on the style you’re going for. You can easily create lines using watercolor because you can control their shape and thickness when you have the right set of brushes. To practice this technique, create a bunch of lines that are placed next to one another.
If you’re looking to obtain the hatching or cross-hatching effect, you can either make these lines perpendicular or parallel to each other. Those of you that want to obtain clear lines, can use a pointed brush with color and just a little bit of water. The amount of water you use will determine if your lines are crisp or flowy.
Splattering

This is a really fun watercoloring technique to try because it allows you to get messy. They can help create paintings filled with energy, but it’s also a technique that’s more difficult to control compared to others where you basically just draw using your brush. There are three ways to obtain the splattering effect:
- The tapping method requires that you fill your paintbrush with pigment, and then gently tap the brush above your paper. This technique is useful for those who want to cover a lot of ground with this particular effect, but it does make paint difficult to control.
- The flicking method is all about getting your hands dirty. You fill your paintbrush with pigment and hold the brush so that its tip points at the paper. Using your other hand, run your fingers on the edge of the brush. As you do so, your finger will pull back the bristles, and the paint is launched onto the canvas when the bristles are released.
- For a more controlled result, you can always use a stencil. Grab a piece of paper and then cut shapes inside it. Place the stencil over the canvas and splatter the paint using either one of the two techniques mentioned above.
Stippling

Stippling is the creation of several dots of paint in a concentrated area. The texture itself is fascinating and can be used for drawing leaves on tree branches, for instance. There are two approaches to this technique: you can either create overlapping dots for a freeform effect, or you can have a neat and tidy group of freshly-painted dots.
Depending on what you want the final result to look like, you can use a wet brush for a looser look, or so with a dry one that clearly points out the dots. Also depending on what you’re looking to stipple, make sure you use a brush that’s of an appropriate size.
Scumbling
This technique is defined by a series of brush strokes and irregular motions that can be used to make layers and lines of paint. It is the equivalent of scribbling if you will. Practicing this technique is all about simply drawing without trying to follow any rules or patterns.
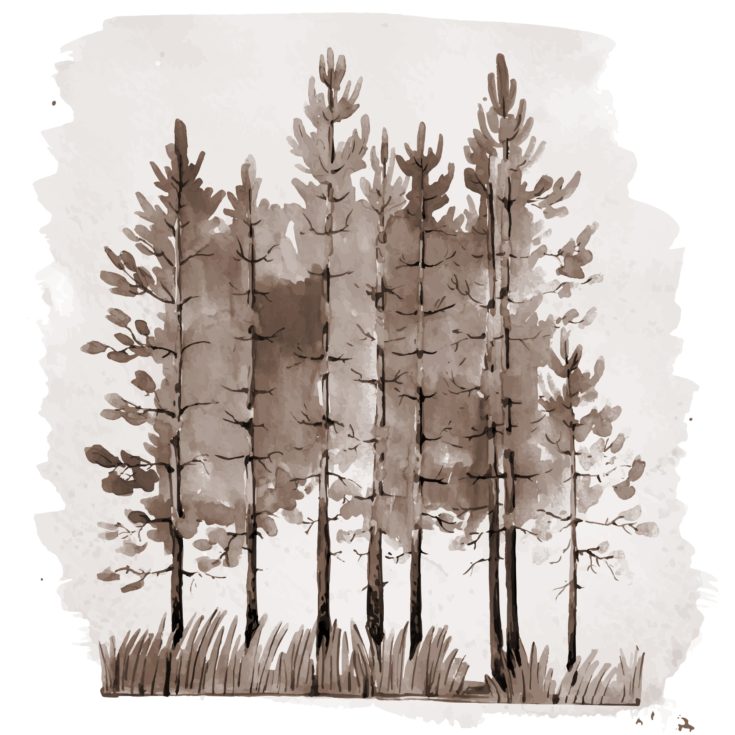
Sponging
Using a sponge to paint can actually render some very interesting and cool results. This is an even better method to try if you want to create dense tree foliage, for example. All you have to do it drip the sponge in paint and then press it against the paper.
Using tape
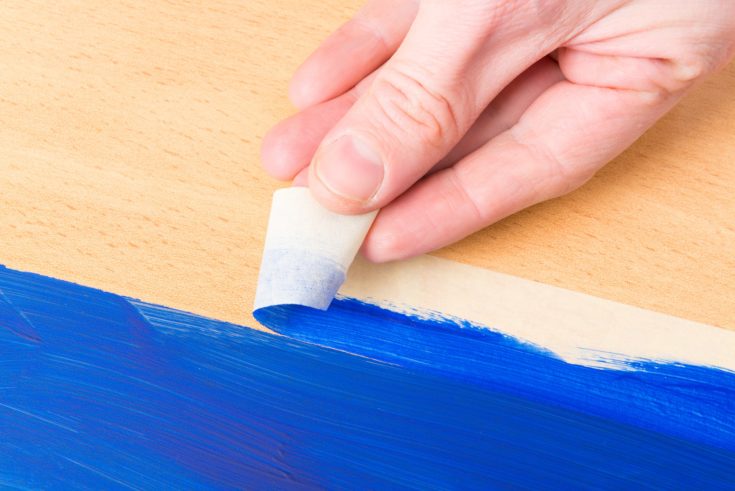
Creating clean edges can be very complicated if you’ve yet to master a steady hand in your watercoloring endeavors. Not to worry, there is a trick that can help you and it is called tape. You can simply add tape to create the imaginary edges of your object, or even at the edges of the painting itself
You can use this technique any time you want to create hard edges, but you’ll have to make sure that the tape you use isn’t going to rip the paper apart when you’re trying to remove it. To prevent that from happening, you can buy painter’s tape. Make sure that you only remove the tape once the painting is dry, otherwise, you’re bound to end up with less elegant edges.
Darker details
Once you’ve moved on to more complicated projects, you’ll find yourself wanting to create dark details to finish off your work. That is precisely the trick that will get you the best results: leave the darkest colors and details for the end of the project.
Keep in mind that watercolor painting is a lot about using transparent medium, so your edges will be light until you’re ready to finish things off with dark curves, lines, and details.
Backwashing
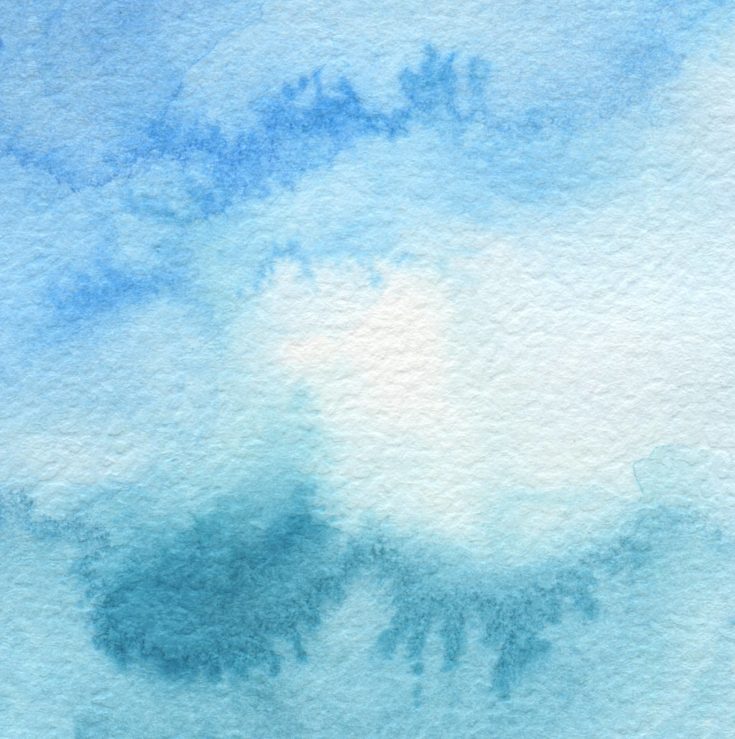
This technique is perfect for many different drawings, and especially when you’re looking to draw water-like effects. Similar to blooms, backwashing requires that you use a wet wash of color and a tilted surface. You want your color to drift to one side of your painting, after which you can lie the paper flat. The effect will cause the water to sleep upwards as the water dries, creating a stunning visual effect.
Conclusion
If you’ve decided to try a bunch of these new watercolor techniques, keep in mind to stock on some of the prerequisites that will make your life easier, such as erasers, pencils, and paper towels. When you have everything close to you, it will be much easier to fix mistakes if it comes to that point.
Mastering watercolor techniques isn’t just about practicing your skill, but also about working with a variety of different brushes and quality paints, so make sure you stock up on those as well.
Related Posts
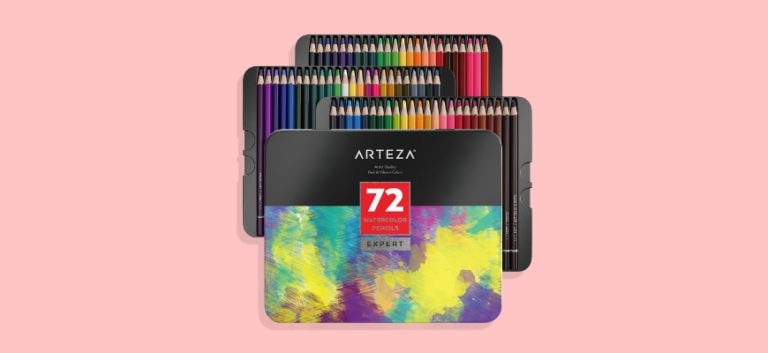
Arteza Watercolor Pencils Review
A detailed breakdown and overview of the Arteza watercolor pencils and how they can benefit you as an artist. 0READ MORE
Whatever your craft, do it well.
Discover
Company
Thank you to Nicole Garcia of MostCraft for sharing the content of this post. Thank you to Candace Osmond, the author, for the fine writing. Thank you to Mostcraft for sharing their content with DoNArTNeWs. www.MostCraft.com
© MostCraft. We are a participant in the Amazon Services LLC Associates Program, an affiliate advertising program designed to provide a means for sites to earn advertising fees by advertising and linking to amazon.com25SHARES
AN ELITE CAFEMEDIA HOME/DIY PUBLISHER
Like DoNArTNeWs Philadelphia Art News Blog on facebook
Follow the new DoNArTNeWs.com
Follow DoN on Twitter @DoNNieBeat58
@donniebeat on Instagram
Affiliate Marketing [disclosure page] Shop on-line and help support DoNArTNeWs
Donate via safe and secure PayPal in the sidebar.
DoNArTNeWs – celebrating eleven years reporting on Philadelphia artists and art.