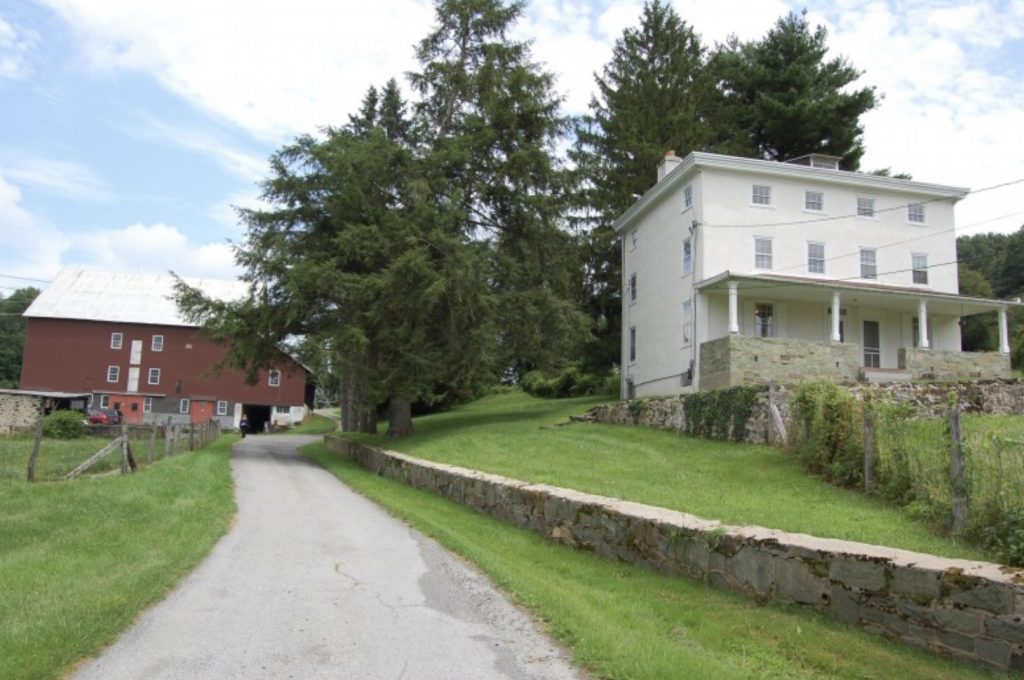
Dear Artists, I am so happy to announce that we plan to resume programs at Kuerner Farm beginning in July with a few minor changes made to ensure everyone’s safety. Plein air and photography opportunities will begin this summer, and classes with Karl J. Kuerner will resume in mid-September. Please see links below for information and to register.
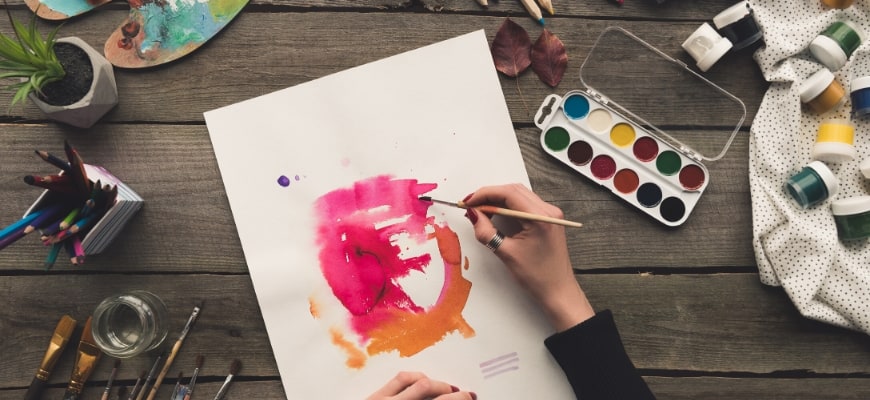
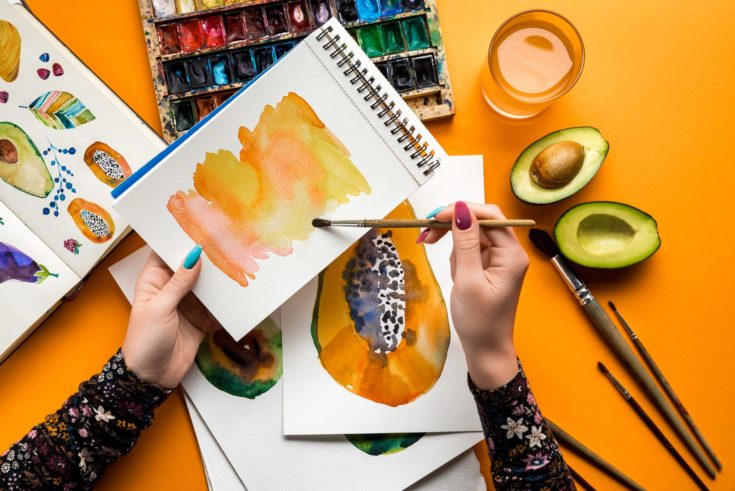
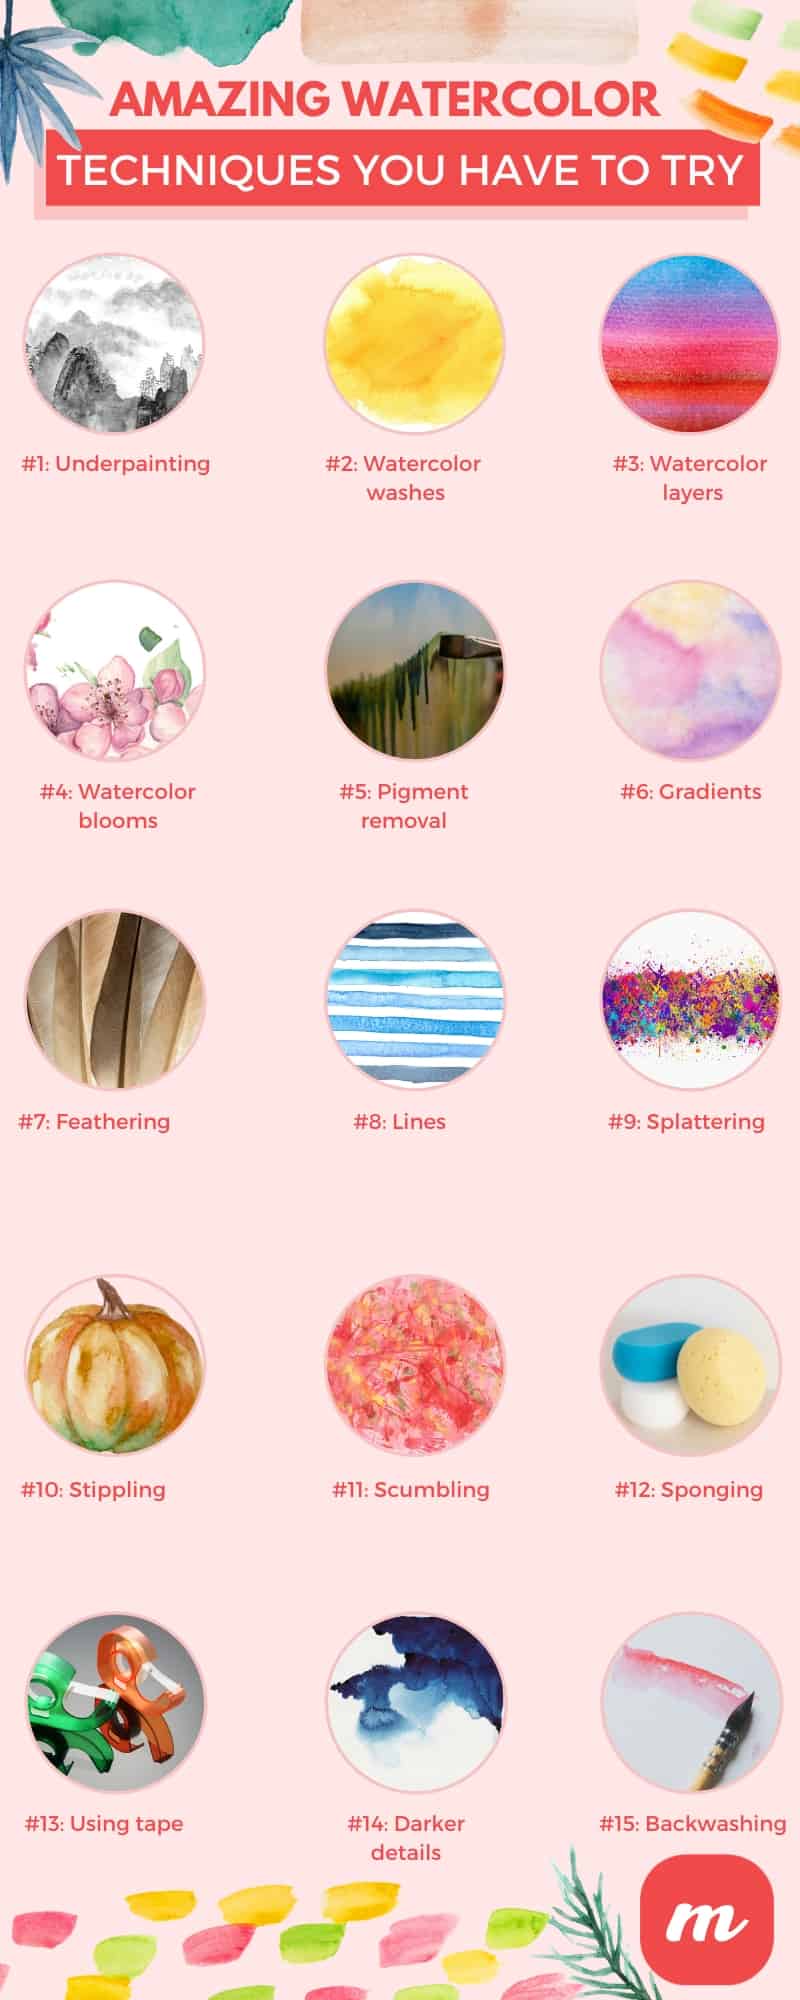
Watercoloring isn’t just a thing for the artists: it is straight-up therapeutic regardless of whether you have any talent or not (by the way, did you know that talent can be learned?). But if you’re serious about learning a thing or two about watercoloring, even if it’s just for creating better projects for your own personal satisfaction, here are some watercolor techniques you have to try.
Underpainting
This technique basically describes a monochrome wash that allows you to create the painting’s first layer. Then, you will add more layers of transparent washes over this initial one, creating luminous effects that seem very real.
You can use shades of green, blue, or purple to help you get started. Paint within the outline of your subject, making sure that you use light brush strokes and take into account shade and light as well. The entire technique is based on using a single color, which allows you to focus on the shape a little bit more.
Make sure that you use a soft brush for this technique. When you’re done underpainting and want to move on to creating the next layer, make sure you leave it to dry first. This will prevent muddy colors.
Watercolor washes
There are basically two types of watercolor washes, dry and wet:
If you want to create a dry wash, you will have to use a round or a flat brush and an angled surface (if you have an easel, absolutely use it for this technique). Choose a color that you like and mix it with plenty of water. Soak your brush in the color as much as you can, then use it to draw a steady horizontal line on the top side of your canvas/paper. There will be water dripping to the bottom edge of your line, so you’ll have to quickly dip your brush in color again and use it to make another stoke below the first one. You want to make sure that the top edge of the second line and the bottom edge of the first line overlap. You want to repeat the process until you’ve reached the bottom side of your paper. When you finish your final stroke, blot the brush on a piece of paper towel. With the dry tip, absorb any excess water that might have dripped to the bottom edge of your last stroke. Leave the paper to dry before removing it from the easel.
Wet washes are a bit more interesting to make. While very similar to dry wash, in this particular case you will have to moisten the paper before creating the strokes. To do that, dip a clean brush in water and brush the entire surface of the paper/canvas. When you’re done, simply create the lines of color, just like you did for the previously-shown technique.
Watercolor layers
Let’s assume that you’ve painted a basic item, like a fruit. You will have to leave the paint to dry, and then you can add layers that will add dimension to your painting, but also color variations. Leaving the painting to dry before adding layers will prevent colors from blending together.
Simple paint the second color on top of the first one, but make sure that you avoid using too much water, or else the base layer will get moist and the colors will blend. If you want your second layer to have less severe lines, simply dip the brush in water and use gentle stroke to feather the line.
Watercolor blooms
You might have experienced these wet paint spreads that look like really abstract flowers. Those are called watercolor blooms, and they’re actually a pretty cool technique that you might want to know about, for future references and projects. What actually happens is that the original pigment spreads out when you use wet paint on a damp wash.
If you want to know how to make these, it’s pretty simple. Create a colorful wet wash and leave it dry for a few minutes. Grab your brush and soak it in water. Touch the paper with the tip of the brush, allowing the liquid to create the blooms.
Pigment removal
Yes, it is actually possible to remove pigment from the painting, which can help correct a mistake or help you add more white space to your painting. The technique you have to apply depends on the state of the watercolor:
If you want to remove wet watercolors, you will have to blot your brush and use it to lift color from the paper. What happens is that the damp brush will absorb a lot of water, so make sure that you remove it quickly to make sure it picks up the color from the painting. Some prefer to use a paper towel to remove the color, but that won’t render the best results in all cases (works best when you want less controlled white space).
Dry watercolor is a bit more complicated to remove because you’ll actually have to use an eraser to do it. First off, water the area and then use a dry brush or a piece of paper towel to lift the color. Then you should be able to finish the job with an eraser.
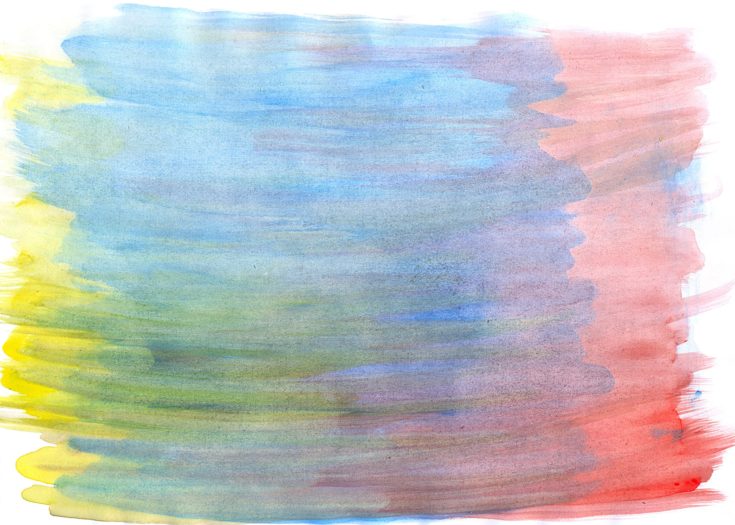
Gradients
Gradients will always be the kings of colored PowerPoint presentation backgrounds, so why not learn how to paint them as well? Needless to say, color blending and gradients add a stunning visual effect to your paintings.
To master this technique, you will have to add watercolor to a wet paint surface. Right next to it, you can add a different color or perhaps a more intense version of the hue. Since the paints are both wet, they will likely blend in together to create the gradient. The wetness of the paint will determine the gradient result.
Feathering
Gradient works differently when you’re starting off with an intense color and want to end up with a more transparent one. Adding more color won’t do it. Instead, you’ll have to add water. This technique is called feathering, and it goes like this: you will have to start by adding strong color to your painting. Then, by using a wet brush, diffuse that color in order to create the gradients effect.
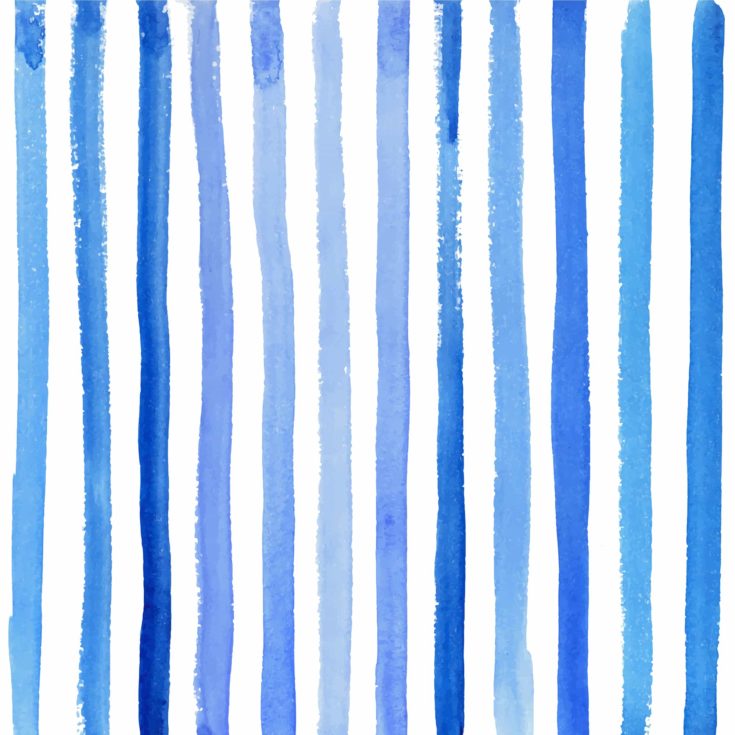
Lines
Lines are an important part of every painting, but that really depends on the style you’re going for. You can easily create lines using watercolor because you can control their shape and thickness when you have the right set of brushes. To practice this technique, create a bunch of lines that are placed next to one another.
If you’re looking to obtain the hatching or cross-hatching effect, you can either make these lines perpendicular or parallel to each other. Those of you that want to obtain clear lines, can use a pointed brush with color and just a little bit of water. The amount of water you use will determine if your lines are crisp or flowy.
Splattering
This is a really fun watercoloring technique to try because it allows you to get messy. They can help create paintings filled with energy, but it’s also a technique that’s more difficult to control compared to others where you basically just draw using your brush. There are three ways to obtain the splattering effect:
The tapping method requires that you fill your paintbrush with pigment, and then gently tap the brush above your paper. This technique is useful for those who want to cover a lot of ground with this particular effect, but it does make paint difficult to control.
The flicking method is all about getting your hands dirty. You fill your paintbrush with pigment and hold the brush so that its tip points at the paper. Using your other hand, run your fingers on the edge of the brush. As you do so, your finger will pull back the bristles, and the paint is launched onto the canvas when the bristles are released.
For a more controlled result, you can always use a stencil. Grab a piece of paper and then cut shapes inside it. Place the stencil over the canvas and splatter the paint using either one of the two techniques mentioned above.
Stippling
Stippling is the creation of several dots of paint in a concentrated area. The texture itself is fascinating and can be used for drawing leaves on tree branches, for instance. There are two approaches to this technique: you can either create overlapping dots for a freeform effect, or you can have a neat and tidy group of freshly-painted dots.
Depending on what you want the final result to look like, you can use a wet brush for a looser look, or so with a dry one that clearly points out the dots. Also depending on what you’re looking to stipple, make sure you use a brush that’s of an appropriate size.
Scumbling
This technique is defined by a series of brush strokes and irregular motions that can be used to make layers and lines of paint. It is the equivalent of scribbling if you will. Practicing this technique is all about simply drawing without trying to follow any rules or patterns.
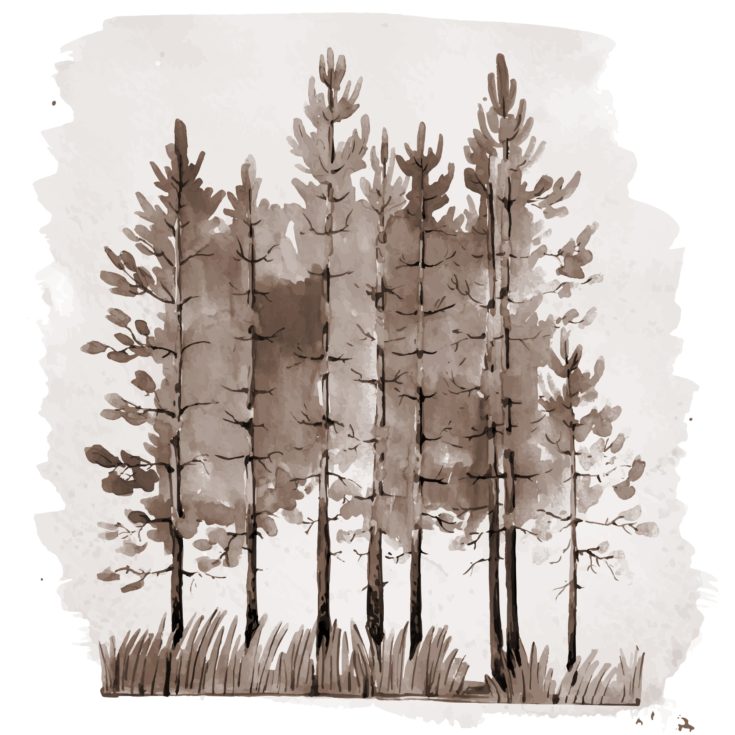
Sponging
Using a sponge to paint can actually render some very interesting and cool results. This is an even better method to try if you want to create dense tree foliage, for example. All you have to do it drip the sponge in paint and then press it against the paper.
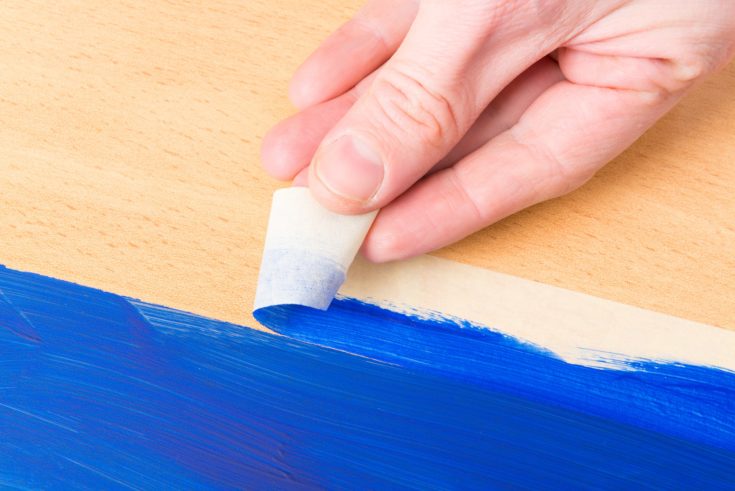
Using tape
Creating clean edges can be very complicated if you’ve yet to master a steady hand in your watercoloring endeavors. Not to worry, there is a trick that can help you and it is called tape. You can simply add tape to create the imaginary edges of your object, or even at the edges of the painting itself
You can use this technique any time you want to create hard edges, but you’ll have to make sure that the tape you use isn’t going to rip the paper apart when you’re trying to remove it. To prevent that from happening, you can buy painter’s tape. Make sure that you only remove the tape once the painting is dry, otherwise, you’re bound to end up with less elegant edges.
Darker details
Once you’ve moved on to more complicated projects, you’ll find yourself wanting to create dark details to finish off your work. That is precisely the trick that will get you the best results: leave the darkest colors and details for the end of the project.
Keep in mind that watercolor painting is a lot about using transparent medium, so your edges will be light until you’re ready to finish things off with dark curves, lines, and details.
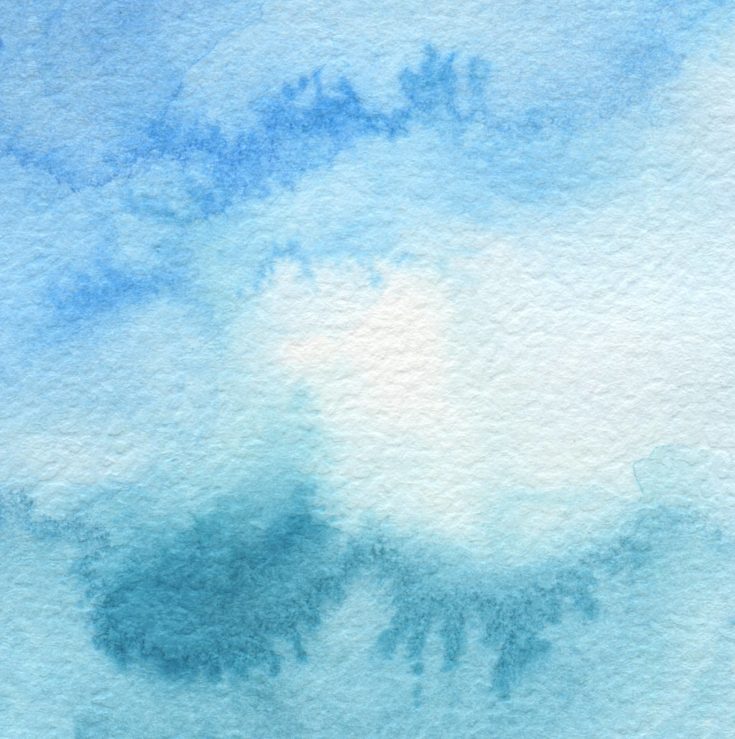
Backwashing
This technique is perfect for many different drawings, and especially when you’re looking to draw water-like effects. Similar to blooms, backwashing requires that you use a wet wash of color and a tilted surface. You want your color to drift to one side of your painting, after which you can lie the paper flat. The effect will cause the water to sleep upwards as the water dries, creating a stunning visual effect.
Conclusion
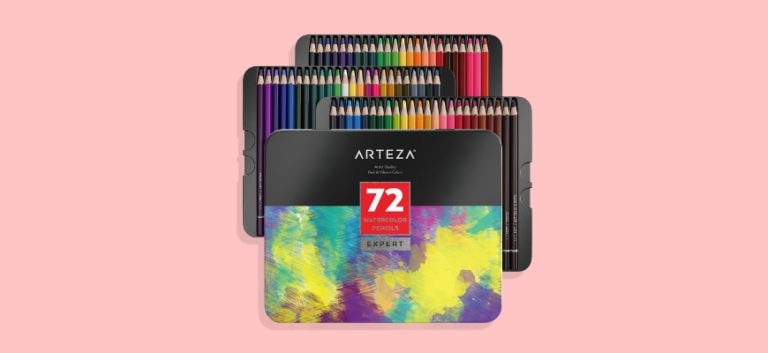
If you’ve decided to try a bunch of these new watercolor techniques, keep in mind to stock on some of the prerequisites that will make your life easier, such as erasers, pencils, and paper towels. When you have everything close to you, it will be much easier to fix mistakes if it comes to that point.
Mastering watercolor techniques isn’t just about practicing your skill, but also about working with a variety of different brushes and quality paints, so make sure you stock up on those as well.
Thank you to Nicole Garcia of MostCraft for sharing the content of this post. Thank you to Candace Osmond, the author, for the fine writing. Thank you to Mostcraft for sharing their content with DoNArTNeWs. www.MostCraft.com
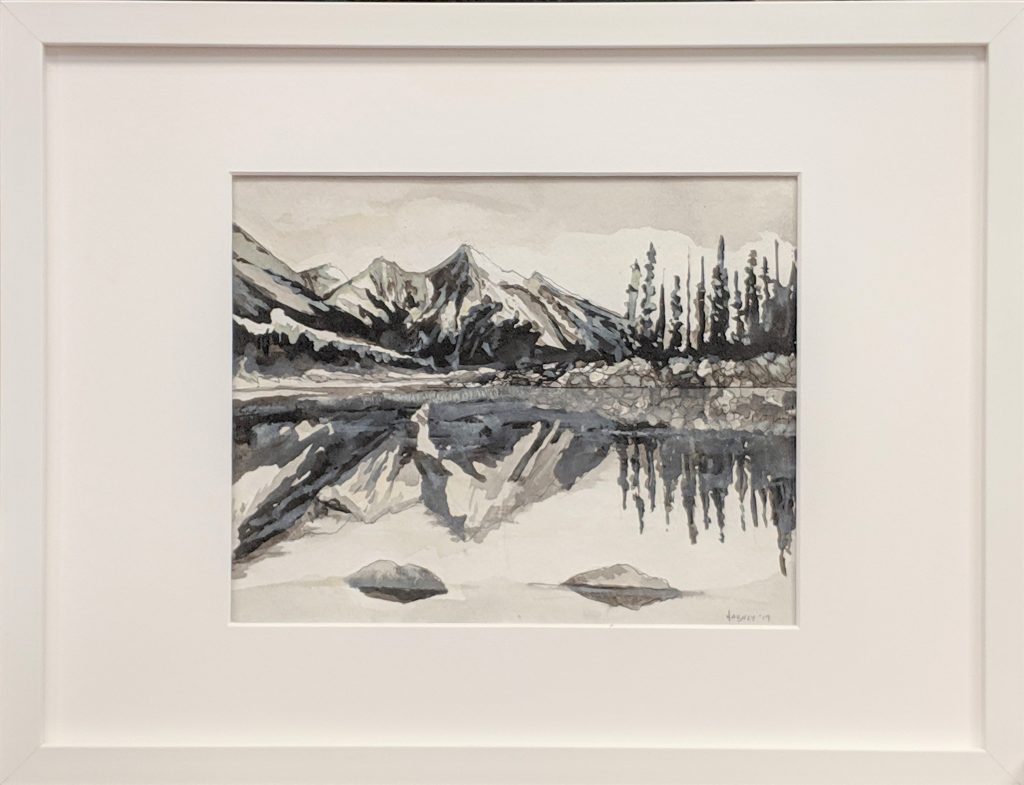
Alaska Reimagined, Erica Harney, A Bit of the Arts
Dear Friends, Neighbors and Art Lovers, If you’re staying local for the holiday weekend, I’d like to invite you to
A BIT OF THE ARTS: HOLIDAY ART SALE
Friday, November 29th from 4:00 – 8:00, Saturday, November 30th from 10:00 – 4:00. *Free Admission*
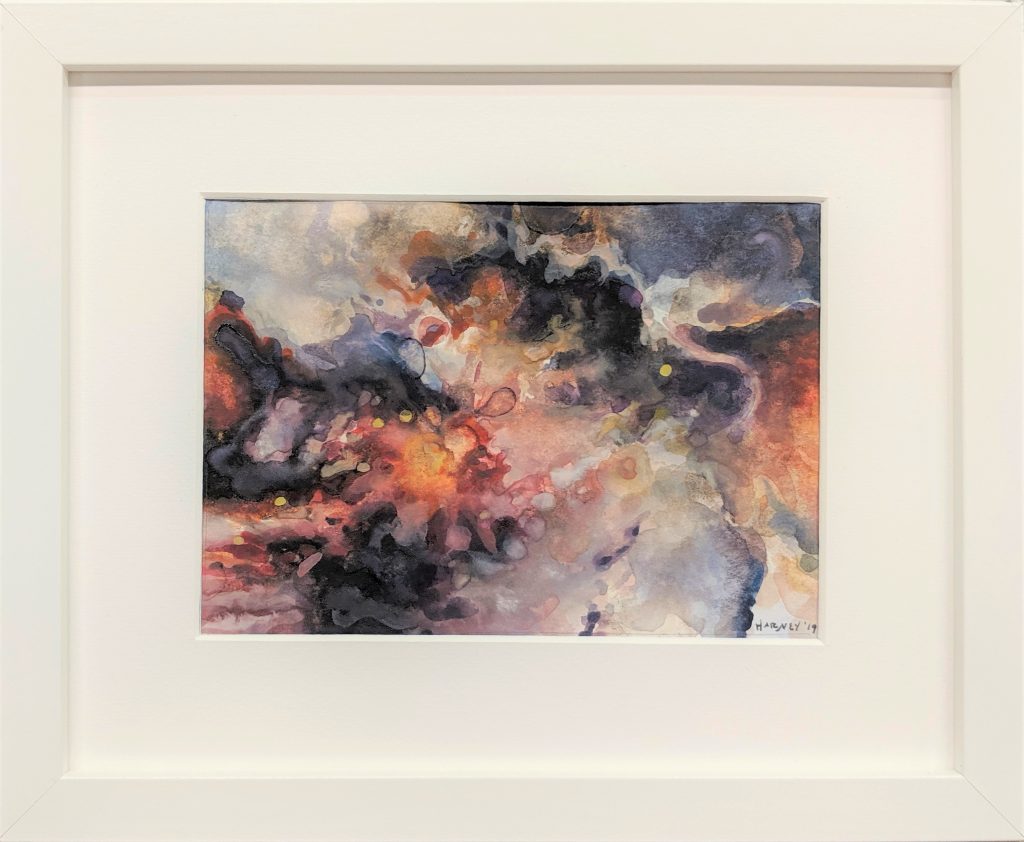
Galaxy,Erica Harney
Live Music* Food* Pottery* Jewelry* Photography* Paper Arts* Fibers* Painting* Printmaking and More! Twentieth Century Club.
Twentieth Century Club 84 South Lansdowne Avenue, Lansdowne, PA 19050. In the heart of beautiful, historic Lansdowne, the Twentieth Century Club awaits you and your guests in a gracious, one hundred year old, arts and crafts style building.
Please note – Lansdowne is in Upper Darby/West Philly. NOT Lansdale, which is in Montgomery County. Easy mistake to make! I will be there with my watercolors and other small, framed pieces! For more information visit the event page.
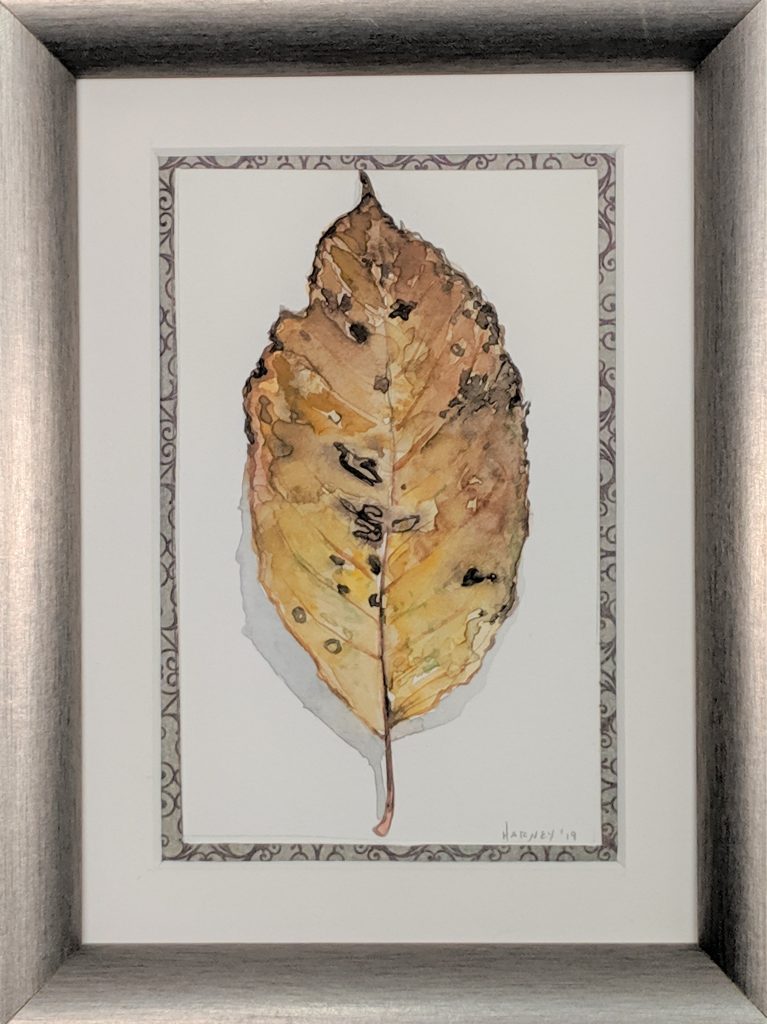
Leaf,Erica Harney
Can’t make it in real life? Check out my Etsy Shop! Free shipping and gift-wrapping within the continental US :)Hope to see you there. Either way, have a lovely holiday!
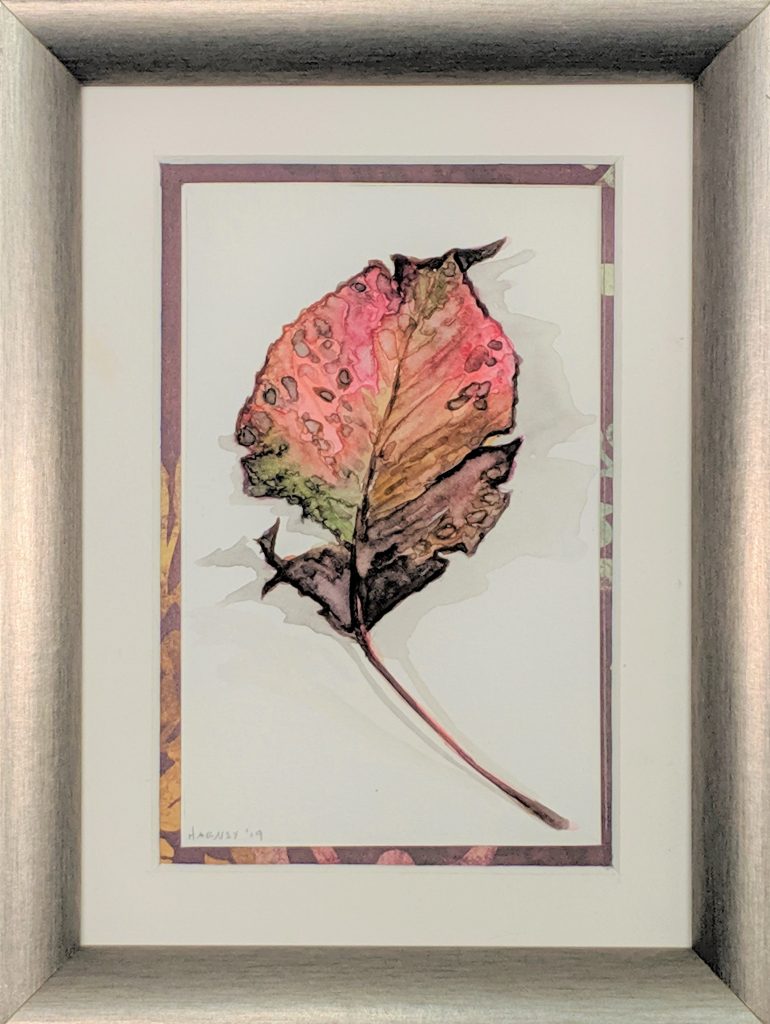
Leaf 86,Erica Harney
Thank you to Erica Harney for the content of this post.
LikeDoNArTNeWs Philadelphia Art News Blog on facebook
POST20: Open Studios Coming this Fall October 12: South | October 13: Northeast | October 19: Northwest | October 20: West
The Center for Emerging Visual Artists celebrates the 20th Anniversary of Philadelphia Open Studio Tours (POST) this October. We are proud to be a part of a community that has empowered artists through this program for the past two decades and we look forward to many more ahead of us. Fostering meaningful interaction between artists and the public, POST promotes a greater awareness and appreciation for the creative minds that make Philadelphia a vibrant place to live, work, and visit.
Philadelphia Open Studio Tours is the largest open studio tour in the region featuring hundreds of artists and community spaces—workshops, galleries, etc.—each year. A behind-the-scenes look into a day in the life of an artist, POST is an approachable and easy to navigate, self-guided tour taking place over two weekends. Each day offers the public an opportunity to explore creative spaces (free of charge) in a unique portion of the city. Participating studios and workspaces will be open from NOON to 6PM on assigned tour days.
Activities include: studio visits, hands-on demonstrations, workshops, artist talks, discussions, receptions, guided tours, featured exhibitions and more. No other open studio event in the area provides such a rich and diverse cultural experience for the public.
Get involved with POST20 today! Registration, advertising sales and sponsorship options are available at philaopenstudios.org. To learn more about POST contact Michael Mergen at michael@cfeva.org or (215) 546-7775 ext. 13
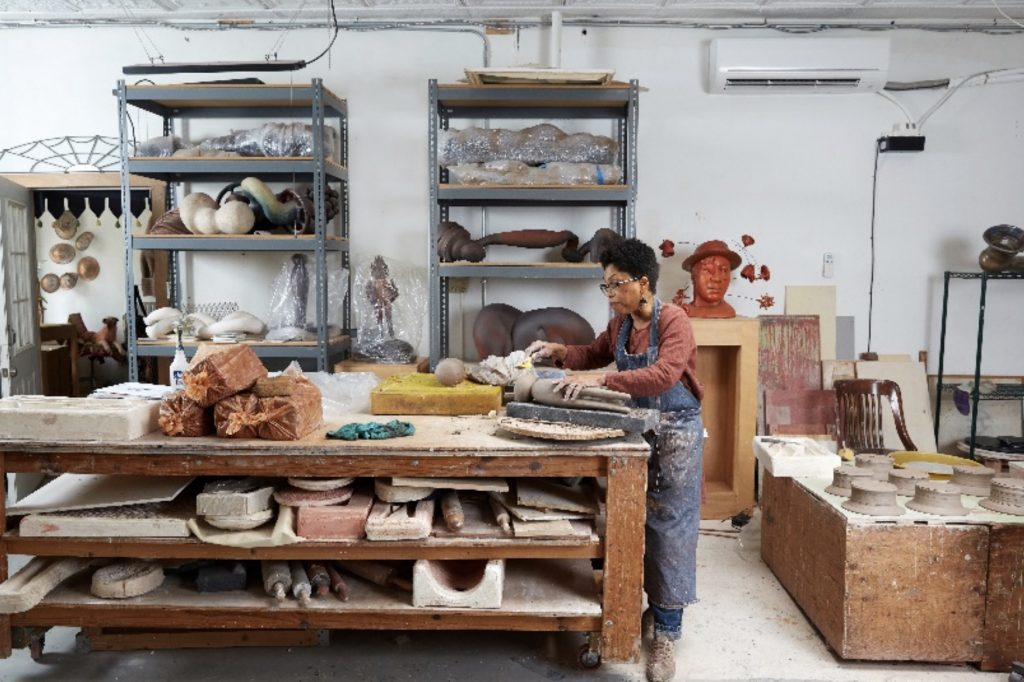
Tweet: We Made It! Philadelphia Open Studio Tours celebrates 20 years this October. Learn how you can get involved at philaopenstudios.org #POST20#POSTPHL Image: Syd Carpenter in studio, Photo by Matthew Bender www.PhilaOpenStudios.org
Featured Events POST20 Kickoff Party @ Sonesta, Sonesta Hotel – 1800 Market Street, Philadelphia, PA, Thursday, September 26, 2019: 6 to 9pm. Join the Center for Emerging Visual Artists (CFEVA) at the Sonesta Hotel to kick off the 20th year of Philadelphia Open Studio Tours. Mix and mingle with POST artists, partners, and collectors. Learn more about who you should visit during the open studio tours! www.sonesta.com
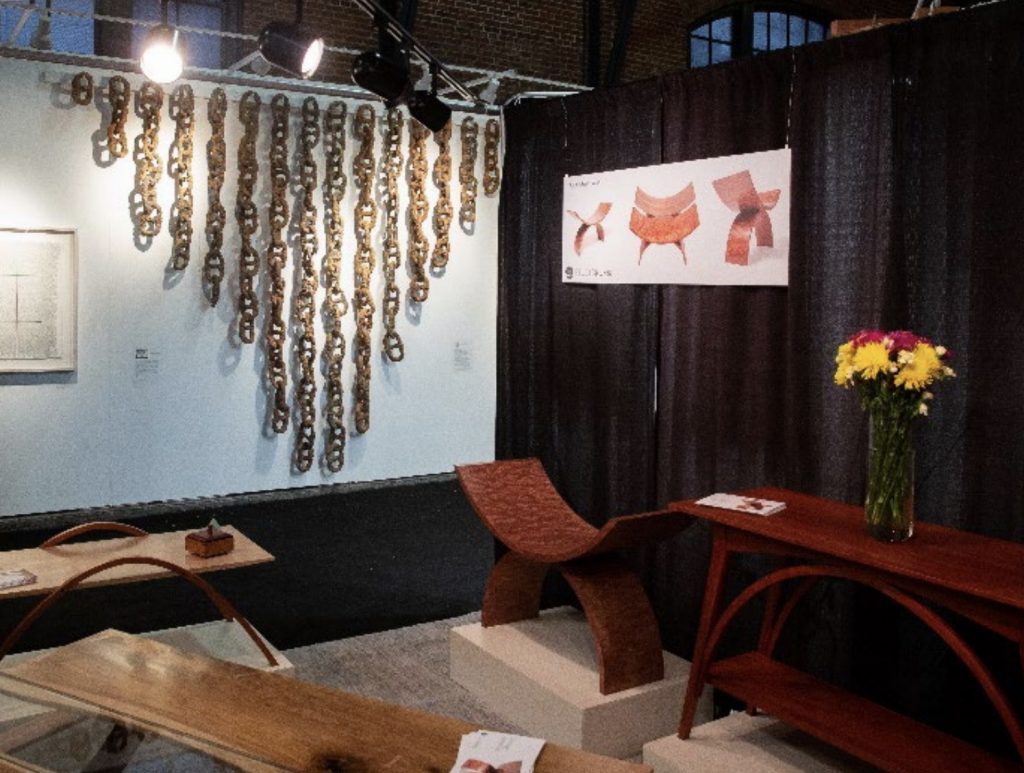
25th Anniversary Philadelphia Furniture Show
23rd Street Armory – 22 S 23rd Street, Philadelphia, PA Preview Party: Friday, October 4: 6 to 9pm, Saturday, October 5: 10am to 6pm Sunday, October 6: 10am to 5pm
CFEVA is partnering with the Philadelphia Furniture Show (PFS) which showcases exceptional artisan quality furniture and is the longest running exhibition of its kind. For 24 years PFS has cultivated an amazing array of handmade furniture and furnishings. From handcrafted tables for your home or office to rugs to fine furnishings, they showcase the finest artisan heirlooms.
2018 Philadelphia Furniture Show, Photographed by Matthew Bender Studios
The Center for Emerging Visual Artists – 237 South 18th Street, Suite 3A, Philadelphia, PA October 7 to November 15
Artist Talk: Saturday, October 12: Noon to 1pm Closing Reception: Thursday, November 14: 5 to 7pm.
John Schlesinger is a veteran photographer turned sculptor. He has won a Rome Prize, a Louis Comfort Tiffany Award, a Peter S. Reed Foundation Award and two National Endowment for the Arts Fellowships. His work has been reviewed in Art in America, the Village Voice, Aperture, Bomb Magazine, Art News, and the New York Times. Collected broadly, Schlesinger’s output can be found at the Walker Art Center, the San Francisco Museum of Modern Art, the Houston Museum of Art, the Dallas Museum of Art, the Hamburg Kunsthalle, the Art Institute of Chicago, the Brooklyn Museum, and the MOMA. www.johnschlesinger.net
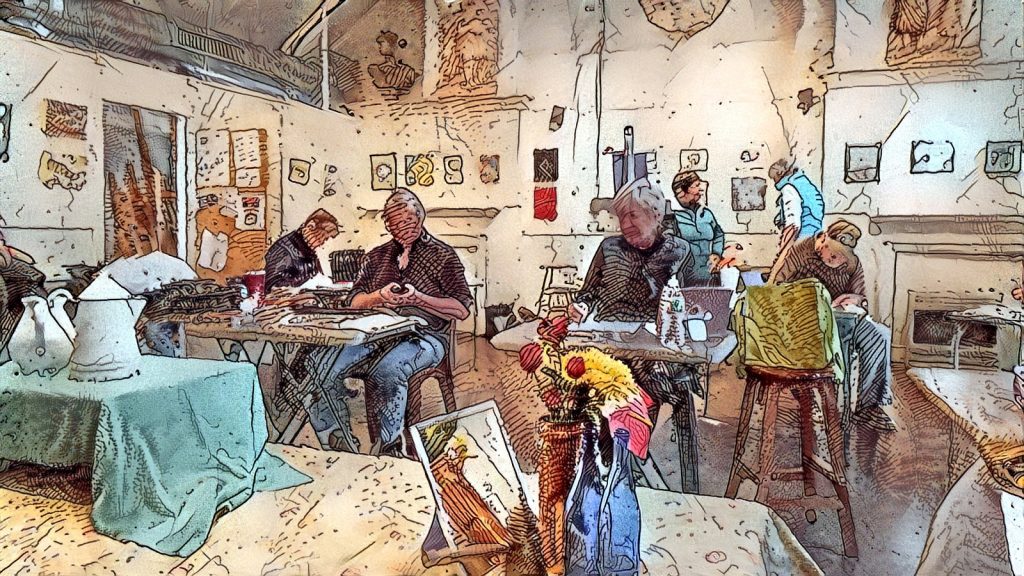
The Plastic Club holds eleven artist workshops every week, in which the Club supplies a well-lighted studio space and models, if required.
These workshops are great incubators of artistic expression. Once a year, the Club has an exhibition of work done in these workshops — whether completed during the workshop or started in the workshop and completed at home.
The Annual Workshop Show, June 1st – June 27th, will open with a party on Saturday, June 1, from 7:00 – 9:00PM at The Plastic Club, 247 S. Camac St., Philadelphia, PA 19107, 215-545-9324 info@plasticclub.org
Viewers of the exhibition will vote for their favorite works, and the top vote-getters will receive coupons for free workshops. (Workshops are inexpensive, but not free.)
Among the workshops are Clothed Portrait Model, Draped Figure, Life Model (Long pose), Clothed Model (Long pose), and Open Studio. (During the Open Studio, students work on their own projects and a still-life composition is available.) The full list of workshops is shown on the Club’s website, www.plasticclub.org/workshops.
The Annual Workshop Show can be viewed by the public during the opening party and at The Plastic Club‘s monthly Third Sunday Open Gallery, on June 16, from 1:00 to 4:00PM.
About The Plastic Club
The Plastic Club was founded in 1897 by a group of professional women artists At a time when already existing art clubs in the city were only open to men, the founders of the Plastic Club wanted a place for artists who were women to meet, exchange ideas, and exhibit their work. They wanted to bring experienced, professionals together with younger artists who were just beginning their careers.
Today, in a building purchased through member fundraising in 1909, the original mission of the now co-ed Plastic Club continues with 200+ members, ten open drawing sessions a week, and a year-round program of film, dance, music, poetry, salons discussion groups, community dinners, and other fun events.
The term “Plastic” refers to the “plastic” arts — malleable, changeable, and ever in-progress work. From the beginning the Club has been a home to artists of all media including painting, drawing, sculpture, photography, printmaking, fiber arts, and more.
Thank you to Bob Moore for the content of this post.
LikeDoNArTNeWs Philadelphia Art News Blog on facebook


